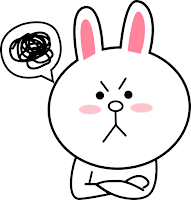
 Today we are going to learn to make stickers for line using Inkscape. We use Inkscape because with Inkscape we can make pictures that will look good even if we make them extremely big or extremely small. With Inkscape we can make beautiful clean lines even when using a mouse or laptop. This makes it perfect for making line stickers.
Lets remake the Cony sticker and learn to use Inkscape
1. First save the picture of Cony to the left and put it into Inkscape.
2. Click on the circle tool (or press F5) to make the circle for her head.
3. Let's give our circle an outline and a color. Click on object on the top menu and then Fill and Stroke.
4. The Fill and Stroke menu will open to the right. Fill is the color inside and Stroke is the line that goes around it.
 |
| The Draw Bezier curves tool |
5. Give a white fill and a black stroke.
6. Click on stroke style and change the width of the stroke to 8 or any size that looks right to you.
7. Next, let's make the ears. We will use the Draw Bezier curves tool - it is on the left menu and looks like a pen.
 |
| Hold left click to make it curved |
9. Close the shape by left clicking on the first node.
10. Create the second ear in a similar way.
11. Now to join the head and the ears into one shape hold shift and left click on each of the three shapes.
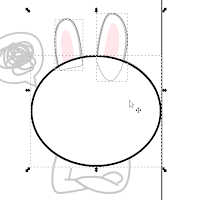
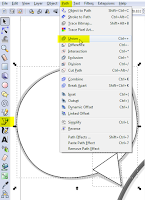
12. Then click on Path in the top menu. and then Union
 |
| Path -> Union |
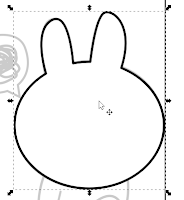
14. As one shape it has the same Fill and Stroke. But we need to be able to see under the shape to finish our picture. To do this click on opacity under the fill and stroke menu and change the number to 50.

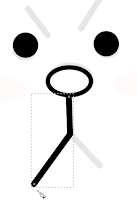 15. Use the circle tool and draw the eyes and nose. Use a black fill for the eyes and a white fill with a black stroke for the nose. Click stroke style and change the width to 8 if the line is too small.
16. Next let's draw the mouth with the draw bezier tool. This time we will draw straight lines. Left click at the start of the mouth and then left click to the middle of the y shape, then left click at another end of the mouth. Right click to finish complete the line without closing the shape.
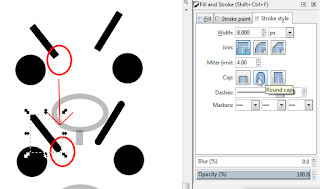
17. Add the other line to finish the mouth and the eye brows. The lines for the mouth and eyebrows will look nicer with a round end. To do this, go to the stroke style menu and click Cap -> Round Caps
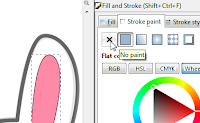
18. Next, draw the pink of the ears using the draw bezier tool. Change the fill to pink and delete the stroke.
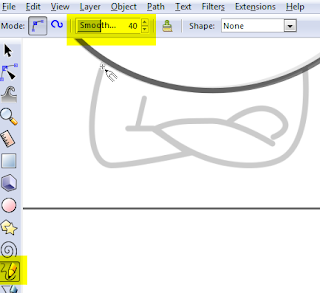
19. Use the pencil tool to draw the body. Change the smoothness to 40.
20. Next, lets add pink to the cheek area of the face. Draw the cheeks with the circle tool and choose a pink fill and delete the stroke (the same as we did for the pink of the ears).
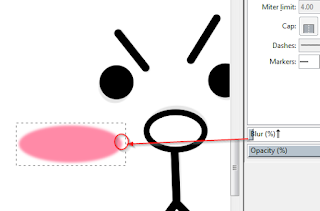
21. Let's soften the cheek by clicking on blur under the fill and stroke.
22. Next Create the speech bubble with the draw bezier tool by hand drawing a pencil and triangle. Join the two shapes together by clicking path -> union. Then change the stroke style -> width to 8.
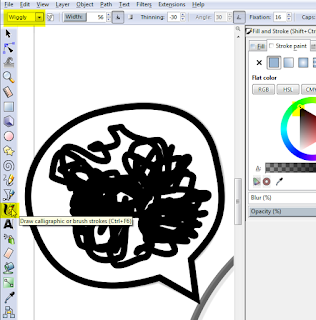
23. Next, draw the wiggly line with the pencil (draw freehand lines) or by using the draw calligraphic or brush strokes tool on wiggly setting. Make sure the stroke is black.
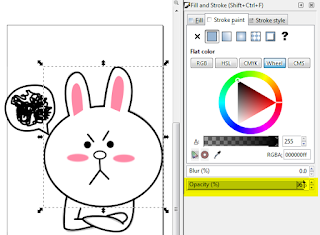
24. Finally, click on the head and change the opacity back to 100 and then delete or move the background image. If you wish you may also add a white fill to the body.
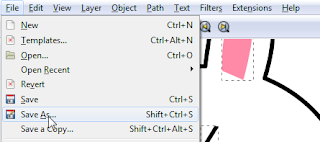
25. Save an Inkscape file (.svg) by clicking File -> save as
26. Save a picture file by clicking File -> Export PNG Image...
Then choose Drawing (page and selection are also useful, but drawing is easiest today), then export as... and then finally Export.

Click here to download the Inkscape file
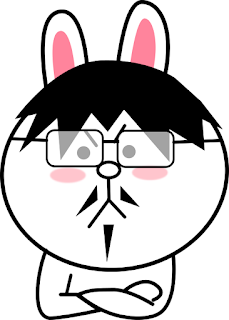
Now let's give our rabbit some personality. Create your own hair style or give it some glasses.
Now that you have learned Inkscape basics try to make a picture of yourself! Use these pictures to help you Make sure you change the hair. Since we have just started using Inkscape, try to keep it simple. We will learn to make anime style eyes another day.
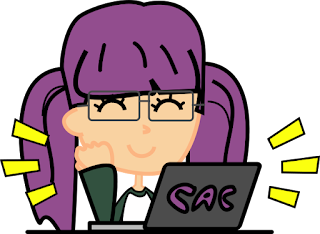
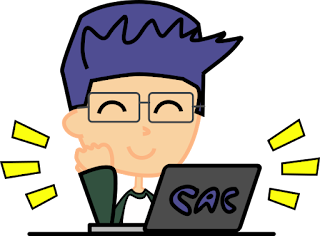
Download the Inkscape file for the computer art club students here.
Try experimenting with these controls too:
Round the corners of a rectangle by clicking on the circles in the corner.
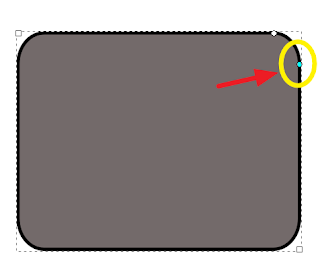
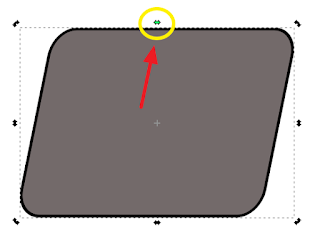
Move the laptop screen in place by clicking on it twice and then moving the sideways arrow.
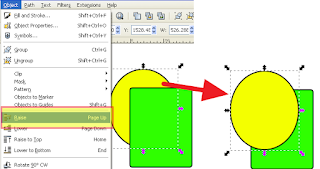
object(top menu) - raise/lower/raise to top/lower to bottom
Path - difference, exclusion, intersection, division, cut path.
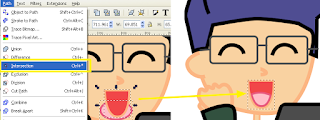
Note: here I copied the red part of the mouth first as it is destroyed by using intersection. There are many different ways of doing this and it can be a little difficult. Play around with them you can use them to do some amazing things!

