Blender 3D Basics Video: How to Make a Super Simple 3D Character
Welcome to the first tutorial on super simple 3D modelling and animation. You can follow this tutorial on youtube, or you can read the steps below.
Click above for the youtube video
Today we will be making a super simple 3D model of Jake from Adventure time in a style similar to minecraft's. Since this is the first tutorial, I will explain it step by step so that you can learn the basics of Blender. Blender is completely free, so if you haven't got it yet, you can download it here: Click to go to the Blender download page.
To start, open a new file with Blender. A new file has three things in it, a camera, a cube and a light.
Click on the 'Object Mode' button in the bottom left hand corner, then select 'Edit Mode'.
Click 'View' and then 'Front'. There are two view buttons, so look at the picture to make sure that you click the right one.
Click on view in the bottom left hand corner and change from 'persp' to 'ortho'. There are two view buttons, so look at the picture to make sure that you click the right one. Changing to 'ortho' will things look simpler later.
Press the 'Ctrl' button on your keyboard and the 'middle mouse' button together and move your mouse to zoom in.
On your keyboard press 'Ctrl' and 'R' together, a pink line will appear (you might have to move your mouse - the pink line will appear in different places depending where your mouse is). Move the mouse until the lines are going up to down. Then press '7' on your keyboard, now we have 7 pink lines. Press the 'left mouse' button twice to OK the new lines.
On your keyboard press 'Ctrl' and 'R' together again, and move your mouse until the pink line goes from left to right. Then press '7' on your keyboard, now we have 7 pink lines. Press the 'left mouse' button twice to OK the new lines.
Press the middle mouse button and move the mouse, you can now see the cube in 3D.
Click 'View' and then Right. There are no lines going up to down on the right face. We need to change this. On your keyboard press 'Ctrl' and 'R' together, a pink line will appear (you might have to move your mouse - the pink line will appear in different places depending where your mouse is). Move the mouse until the lines are going up to down. Then press '7' on your keyboard, now we have 7 pink lines. Press the 'left mouse' button twice to OK the new lines.
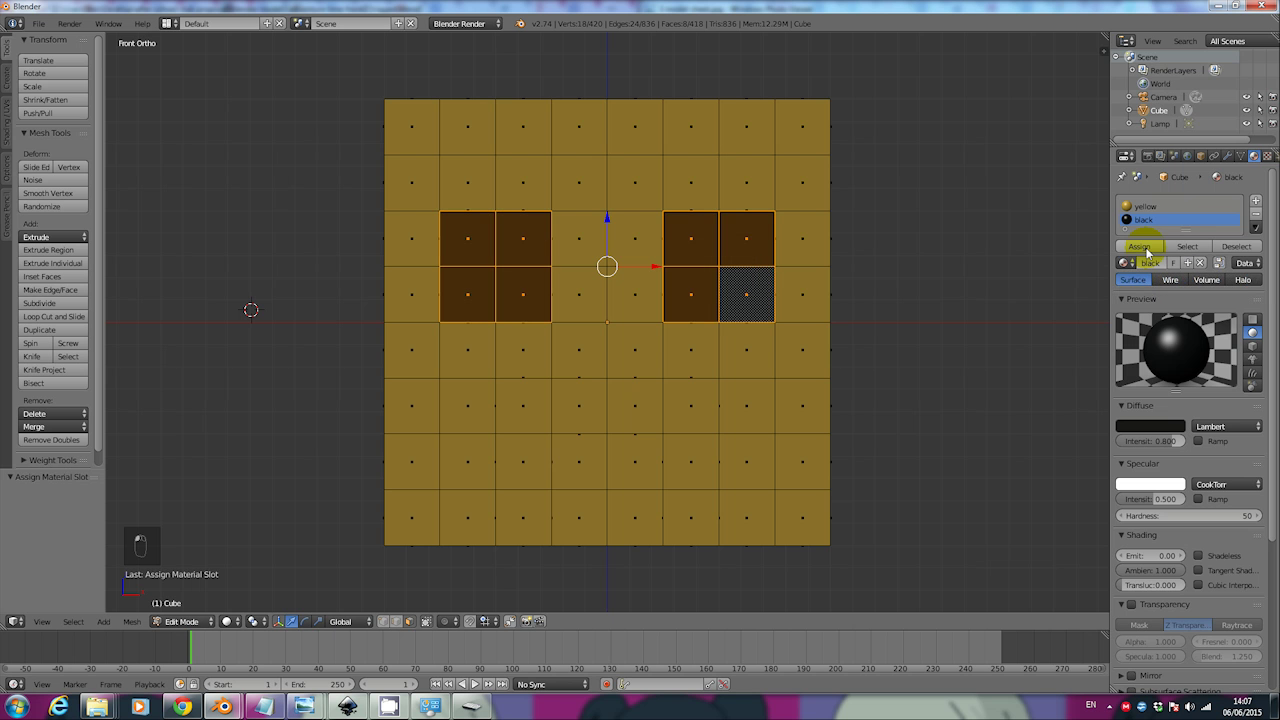
On your keyboard press 'A' a few times until everything is orange. Then move your mouse to the right menu. Click on the circle with squares in it (look at the picture below).
We are going to paint our cube now. Change the name from material to yellow by clicking in the text box (see the picture below). This will help us find the color later.
Click on the white block under the word 'diffuse'.
Choose a yellow color and then click 'assign' (under where material was earlier).
Selecting points/vertices is very slow. We want a quicker way to select his nose/mouth area.
We click on the face select button (see picture below). Now we can select squares instead of vertices.
Select the area for the mouth.
Click ->view -> right
Now we are looking from the right. Click 'E' on your keyboard.
We can now pull those faces out. Pull it out as far as you want it.
Now you can see what our mouth looks like if you hold middle mouse button and move your mouse. We are now going to make the eyes. Select view -> front
It is difficult to see the nose area, but it is there. Now lets select some squares for the eyes. Hold the 'shift' button and right click on the squares. Do not let go of 'shift'.
Click view -> side.
Press 'E' and pull it out.
It is time to paint the eyes. Go to the right menu. Click on the circle with squares in it if you are not in that menu. Click on the + button (see picture).
Click on the button that says new (see picture).
Give the material a name (I called it black).
Click on diffuse and choose your color.
Use the right slider to go from light to dark or white to black.
Click assign when you are ready.
The front of the eyes are now black.
But if we hold the middle mouse button and move the mouse we can see the side is not black. Select the sides by holding shift and pressing the right mouse button.
Move your view by holding middle mouse button. Then press shift again and select more faces. When you are finished click assign to make them black.
Select and color the mouth.
Select and color the nose.
With the nose selected, click view -> right.
Press 'E' and pull out the nose.
Select the sides of the nose and color them too.
Click assign to add the color after you have selected them.
It is time to add the ears.
Select the squares for the ears on the right side. Then click ->view ->front.
Press 'E' and pull out the ears.
Click view ->left.
Do the same for the other ear.
Now it is time to do the body. Click view -> bottom.
Select the neck. You can do this by holding shift and pressing the right mouse button. there are other quicker ways to do this too. If you want you could press 'C' on your keyboard to select more faces at once, or you could press 'B' to box select.
After you are finished selecting the neck, click view-> front.
Now press 'E' move your mouse down and then click. do this many times. You could make one long square instead of many little squares, but we need more for animating.
The more points you have the easier it can move. If you have too many points it will make your PC slow and also it will be more difficult to model.
The body is now long enough.
Now lets add some white to his eyes. Select the areas to make white.
Go to the right menu again. Make sure the circle with squares inside menu is open. Click on the + button as in the picture below.
Then click the add new button.
The color is already white.
Give it the name white.
Click assign.
Lets add the right arm. Click view -> right.
Select a square where you want the arm to come out of, then go to front view and press E to pull it out. Press E, pull and click several times to make a long arm with many points.
Let's make the head rounder. Click view->top and select a square area with shift and right click (you can also use C or B to speed up the process).
Click view ->front.
Click G and move your mouse up. E creates new points, but G just grabs and moves old points. Try it and see how this looks different to pressing E, you can choose either style you prefer, but because the next tutorial is on making our character look rounder and more natural, G is better for this exercise.
We can press z to make sure that it does not move to the side.
Now lets click view -> bottom and do the same there.
Now lets make the legs, select two squares for the legs, go to front view (view ->front).
Make the legs using E the same way we made the arms.
Now you are finished!! Well done!
Click below to see the rest of the series to learn how to make your character more natural looking and how to make it move and talk!