
In this tutorial we will learn how to make a super simple 3D game in Blender.
Creating the Maze
Open Blender (click here to download blender for free).
Delete the cube by selecting it and clicking the 'x' key or 'del' key.
Click create → plane
Click object mode → edit mode
Click tools → scale (shortcut: s)
Tools → subdivide
look at the subdivide submenu - change "number of cuts" to 10.
Click on Face select.
Hold shift and click the right mouse button to select the squares that you ant to use for your maze.
Press the E key and move your mouse to raise/lower the squares into 3D shapes.
Color your 3D shape using the materials menu.
Creating the FLOOR OF DEATH
Click edit mode → object mode
Create a new plane by clicking create → plane.
Scale the plane.
Give the plane a color.
Programming the FLOOR OF DEATH
6:25
Click on a panel
Click on the icon and and select logic editor.
Make the panel bigger.
Click add sensor
Select collision from the add sensor menu
Click add actuator
Chose scene
Mode: restart
Connect the sensor to the actuator by clicking on the circle beside sensor and dragging to the circle beside actuator.
Creating the player
7:55
Make sure that you are in object mode.
Create a new cube and move it to the start of your level.
Use S to make it the size of your player.
Click on object mode in the menu (the picture shows a cube)
Select 'Draw Type' and choose 'Wire'
Hit blender game mode and choose blender game.
Click on the physics menu (it shows a sphere on a ✓)
Change the physics type of the cube to 'character'.
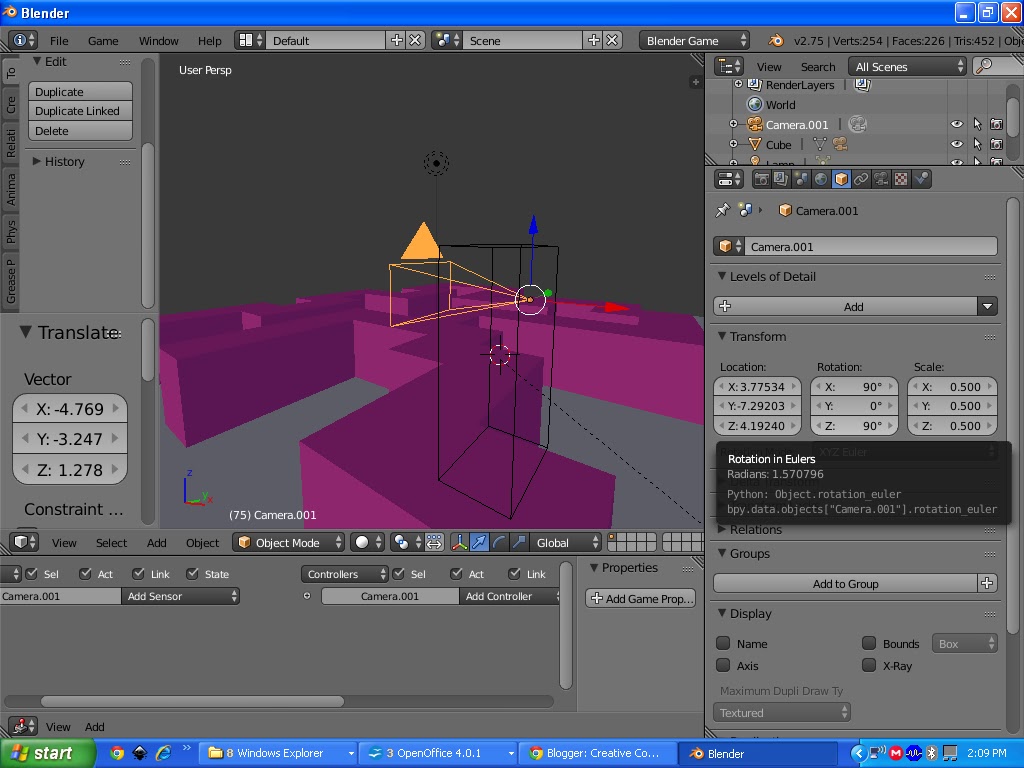
Select your camera and move it to the top of your character (use g to move and R to rotate - this can take some time to get right).
Alternatively: right click on the camera and the character and then click on the bottom menu object → transform → align objects.
 |
| bottom menu - Object → transform → align object |
 |
| Click align to X axis |
Then go to the side object menu →transform and rotation→change the values to Z: 0/90/180/270 (try all four until it is in the right direction) Y: 0 X: 90
 |
| Side menu - object → transform →rotation |
Make sure the camera is selected (right click till orange)
Right click on the cube.
Hold control and press P.
Click parent to object.
Adding your controls
12:23
With the cube selected
Open the logic editor again.
Hit add sensor and choose keyboard.
Give it a name (e.g. forward)
Click on the box beside key and press the button (up arrow)
Add an actuator.
Select motion
Motion type: character motion
Look at your X, Y and Z directions. Look at the way that the camera is pointing, if it is in the red direction, add a number to X. If it is in the green direction, add a number to Y.
Connect the sensor to the actuator by left clicking on the circle beside sensor and dragging it to the circle beside actuator.
Move your mouse to above the viewport (where you can see your game).
Press 'P' to test your game. Check to see that the up arrow works.
Press 'esc' to go back.
Add another control for going backwards (same as above but use the back arrow and a - value if the last one was + or a + value if forwards was -).
Mouse look side to side
Add sensor
choose mouse
mouse event: movement
Add an actuator
Choose motion
Mode: look.
Deselect "use Y axis"
Connect the sensor and actuator
Test your game with P again.
Mouse look up to down
Select the camera with right click (not the cube)
Click add sensor
mouse
Mouse event: movement
Add an actuator
Mouse
Mode: look
Deselect "use X axis"
Hit view → camera
With your mouse over the viewport, press 'P' to test your game!
Adding a jump key
Right click on the cube
Click add sensor
keyboard
key: press 'ctrl' or any other key that you like.
Add an actuator
Click motion
Motion type: character motion
Click on jump
Add an x value so that he can jump forward.
Connect the sensor and actuator.
Press 'P' to test your game.
Adding a way to win
21:18
Choose a point to be the end of your level.
Left click at the point.
Add a cube or monkey there, or a character that you have created before (file → append → find your file).
Rotate with 'R' and scale with 'S'
In the logic editor add a sensor
Choose collision
add a sensor
Choose actuator → click sound → play mode → click on the folder to choose your sound. This sound will be played when the player touches the character.
Saving your blender game as an EXE.
File → external data → pack into blend file
Then click
File → user preferences → categories → game engine → Game Engine: Game Engine Publishing and Game Engine: save As Game Engine Runtime